Posted on

Flowering Mandrakes / Almost Time to Plant


It is the time of year where you never know if it is going to be an 80 degree day or a 40 degree day. We are still getting ready to start planting our summer garden. This was also the first time I mowed the grass for the season. More and more plants are starting to grow. The drip irrigation system is still a work in progress. Once we have the planting beds made then we can put down the drip tape and test the system.

This image has an empty alt attribute; its file name is IMG_20220409_141302517_HDR_1920-800x600.jpg
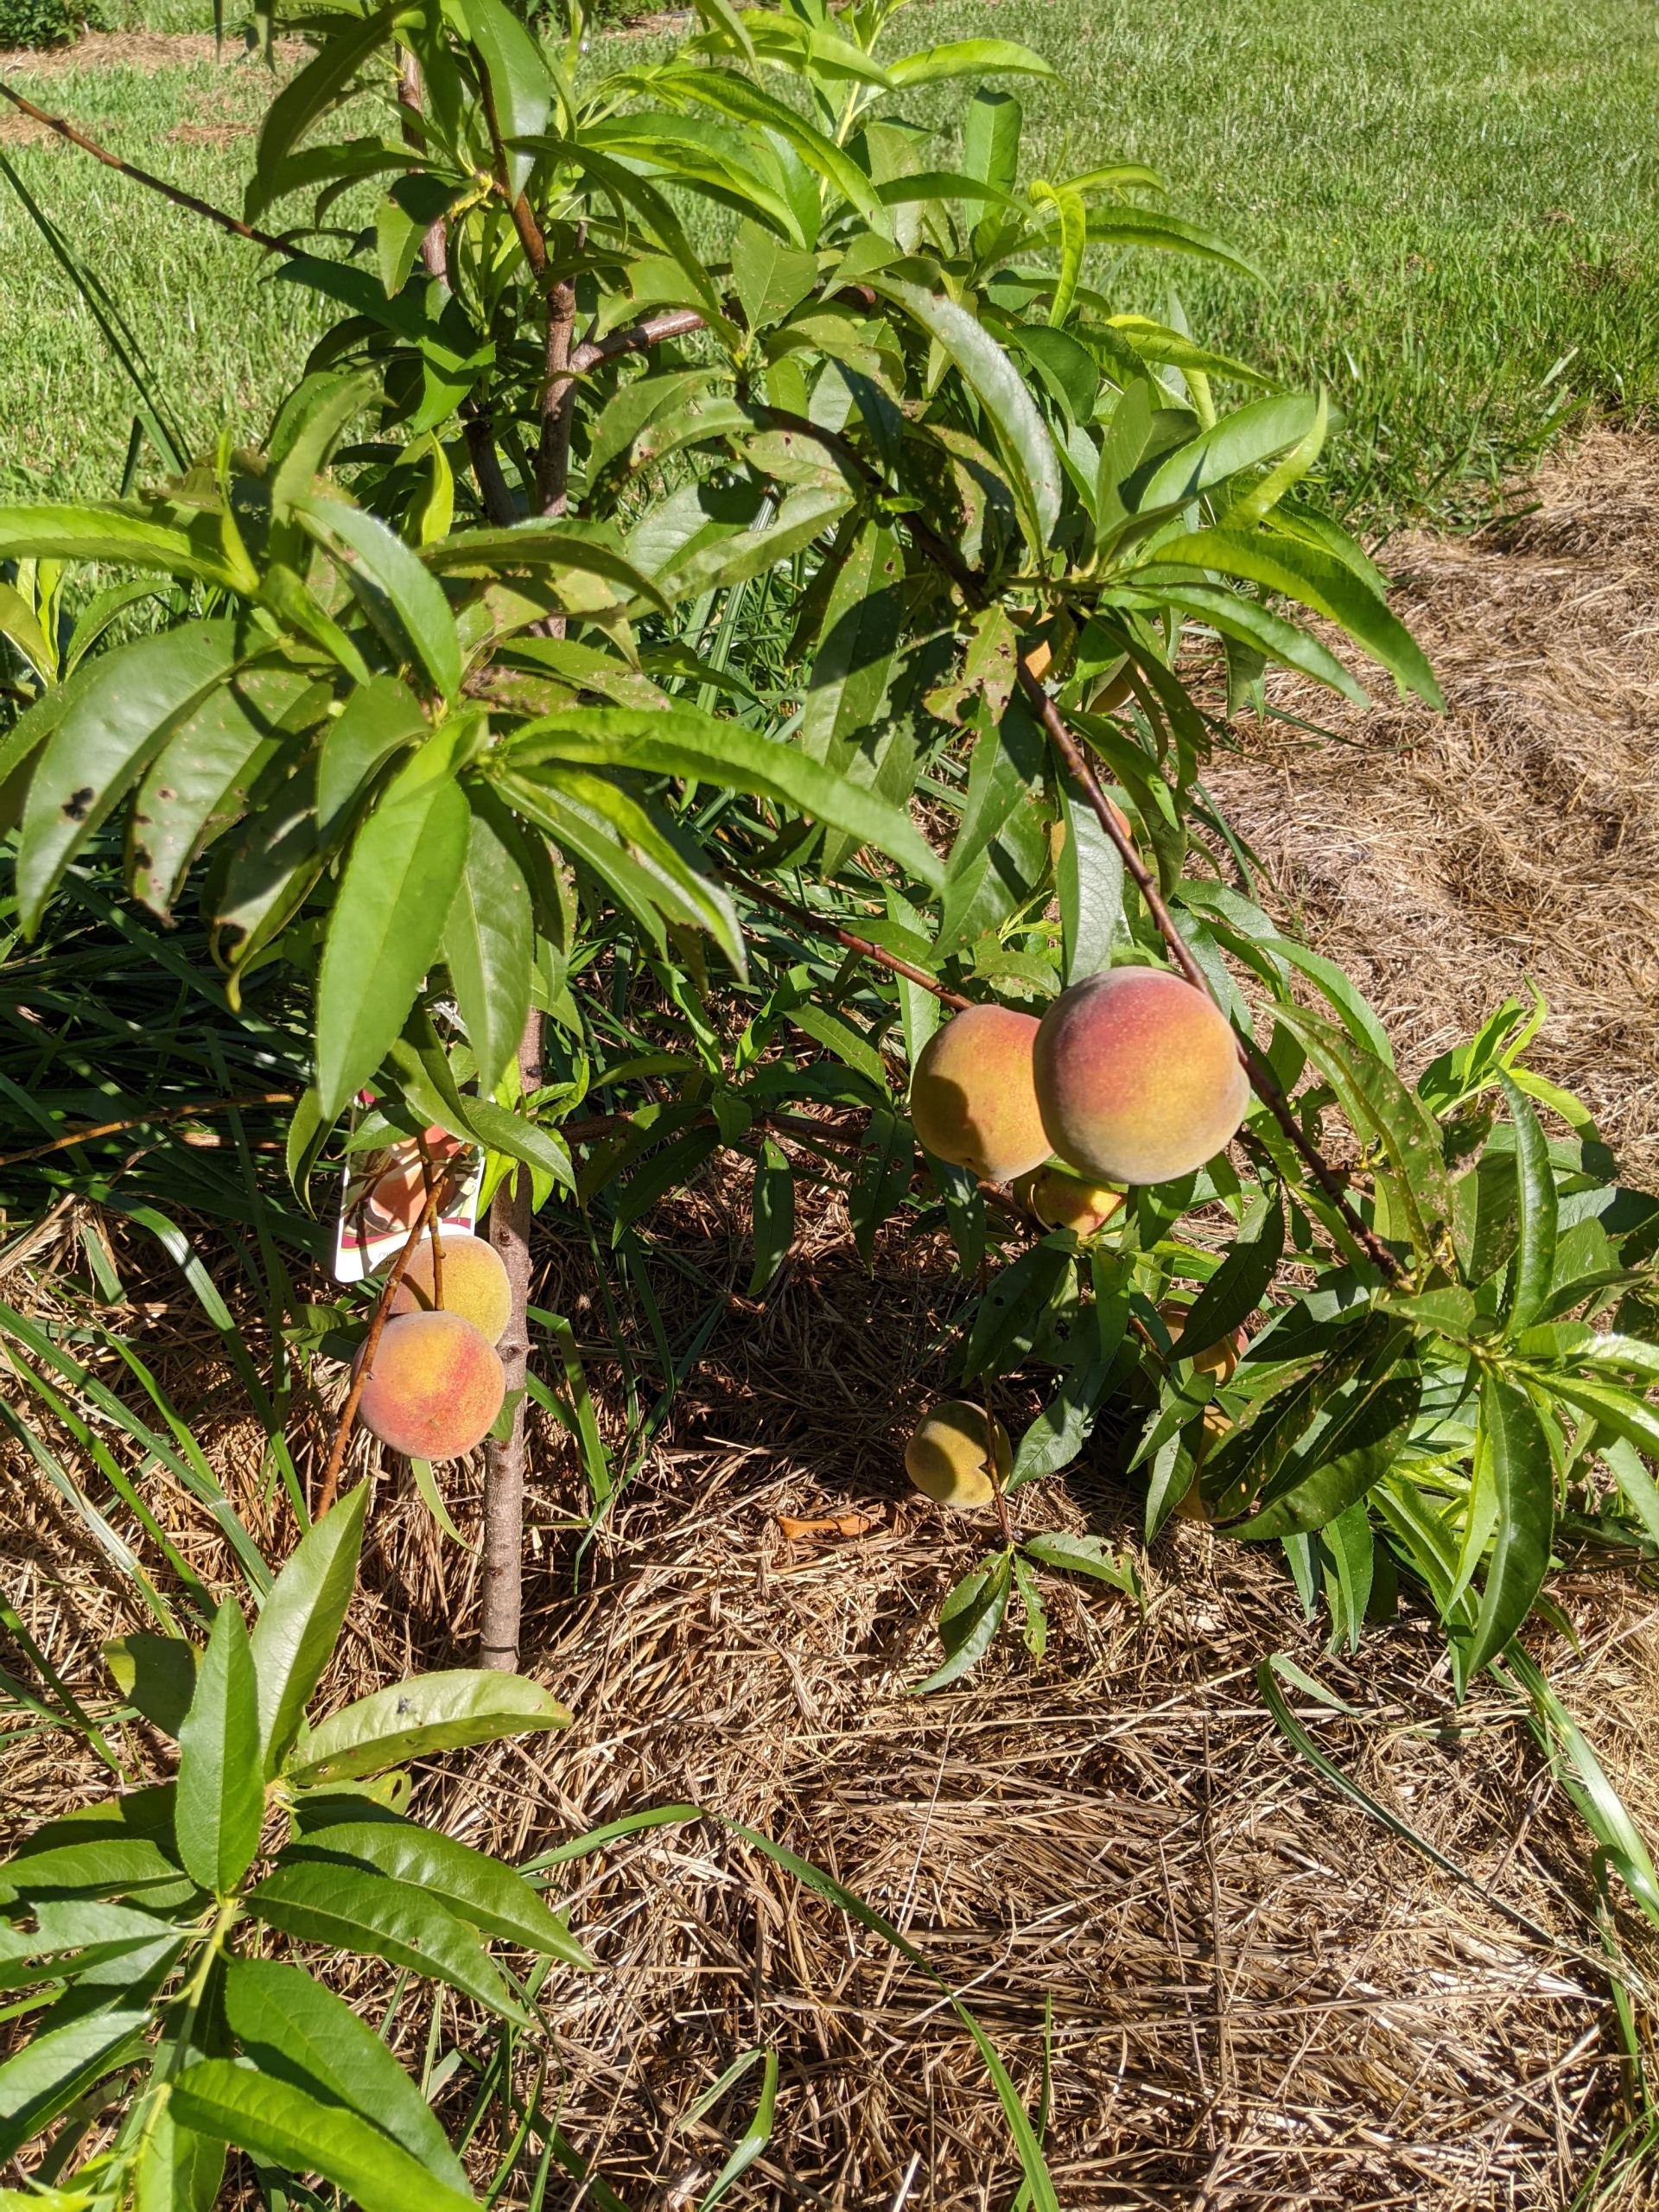
Leaves coming out on the peach trees, but it looks like the frost killed the blooms
This image has an empty alt attribute; its file name is IMG_20220409_141314594_HDR_1920-800x600.jpg
The elderberry plants are really starting to take off
This image has an empty alt attribute; its file name is IMG_20220409_143743044_HDR_1920-800x600.jpg
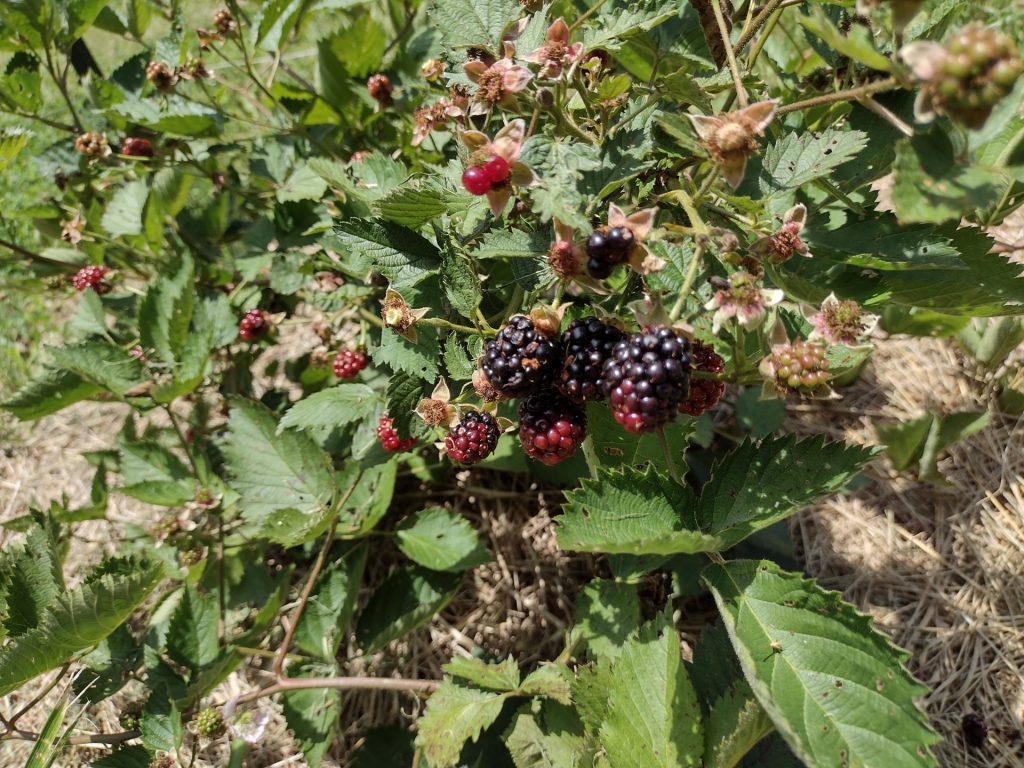
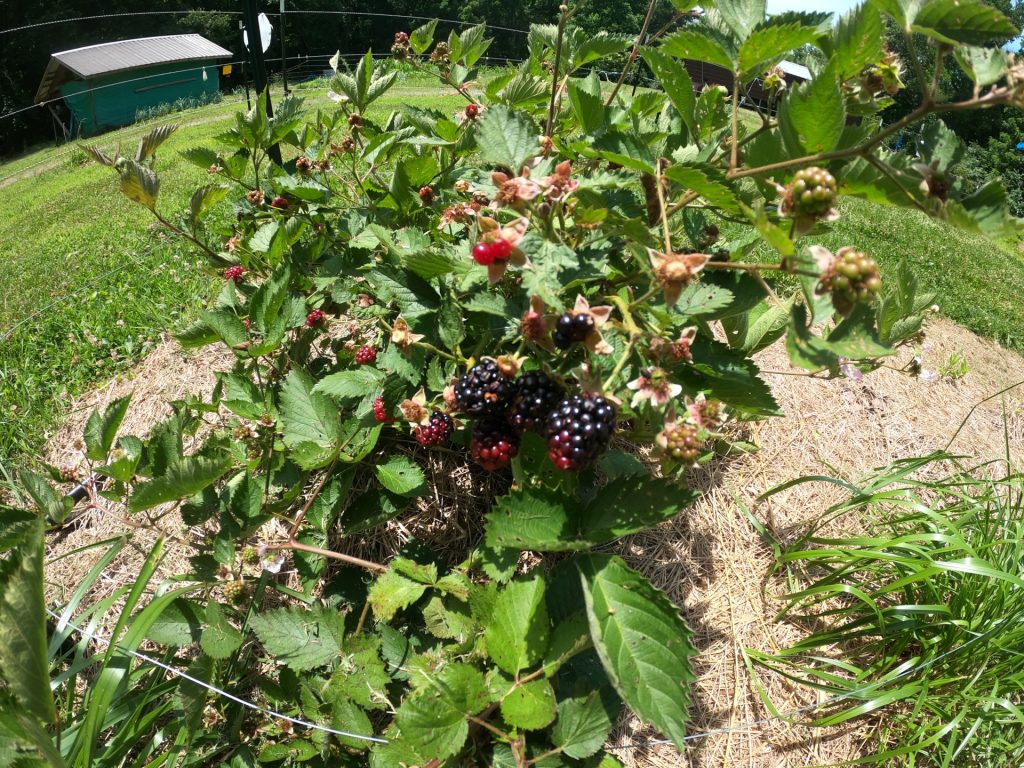
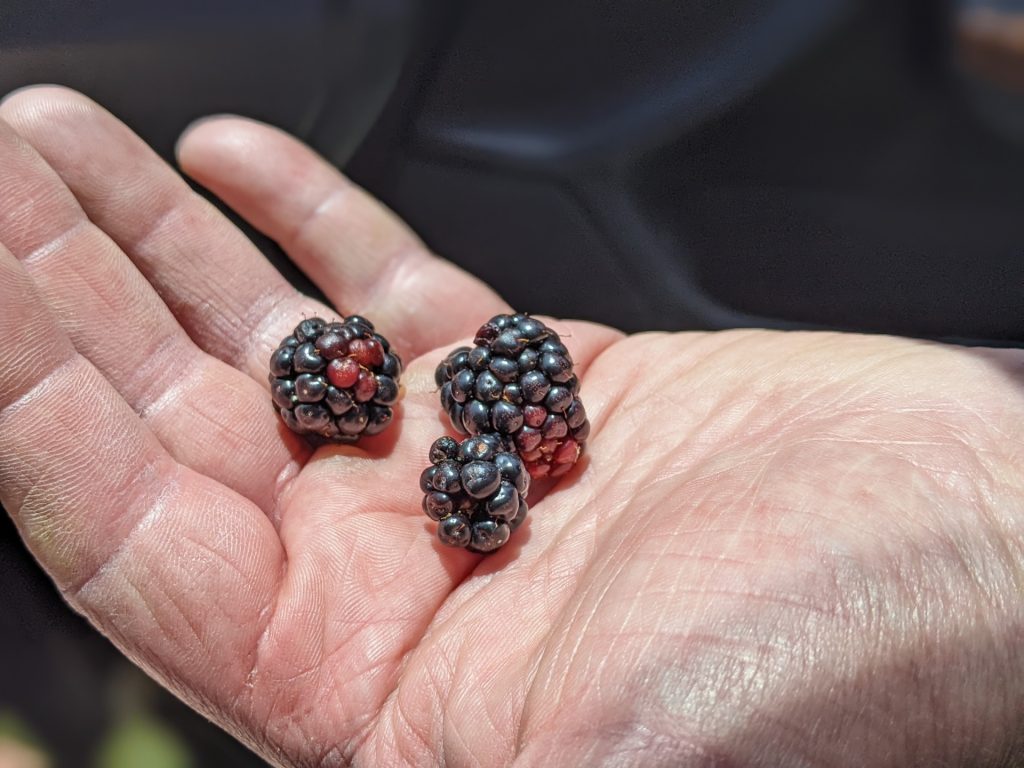
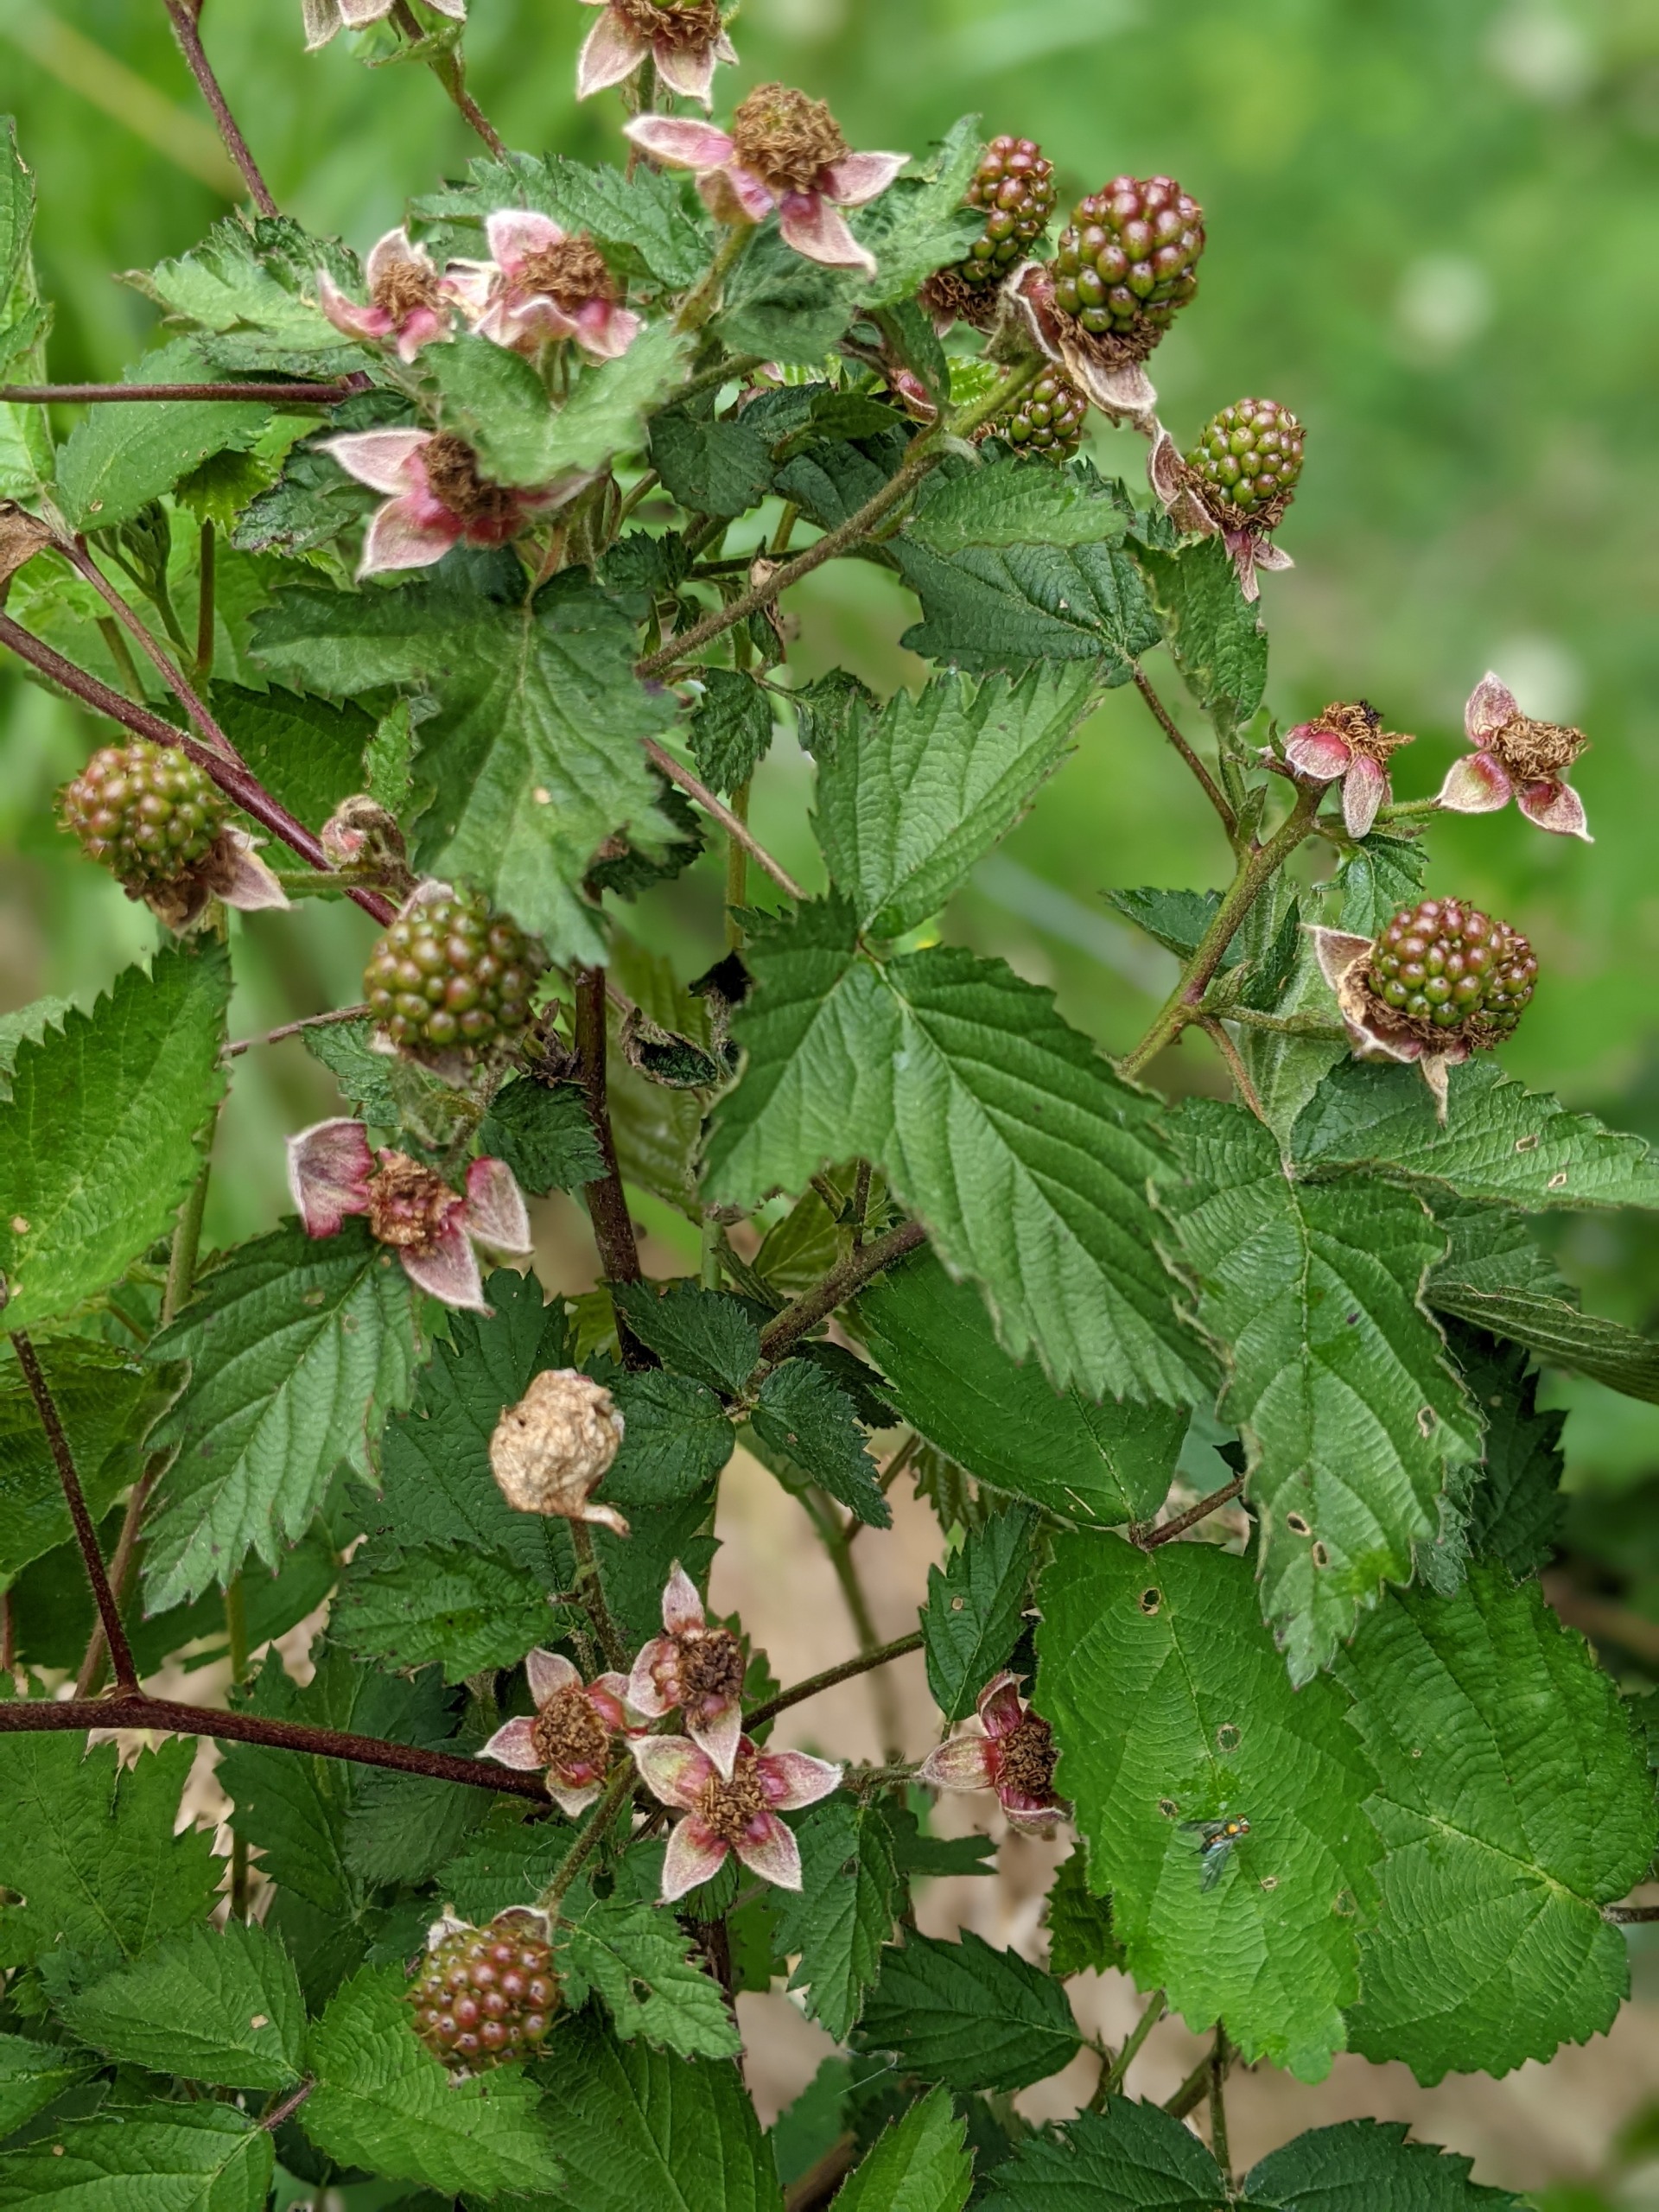
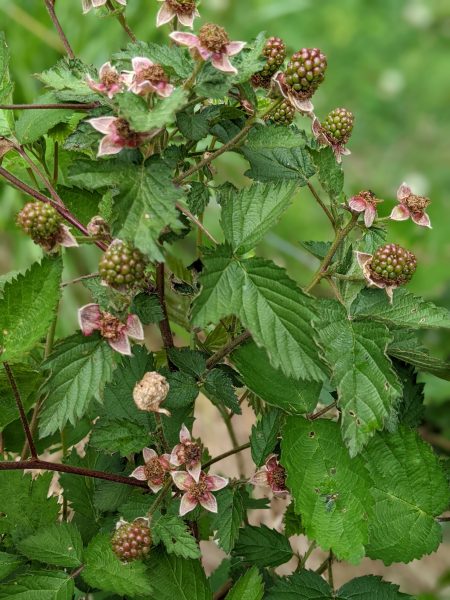
Blackberries are growing too
This image has an empty alt attribute; its file name is PXL_20220409_184849412.PORTRAIT_1920-450x600.jpg
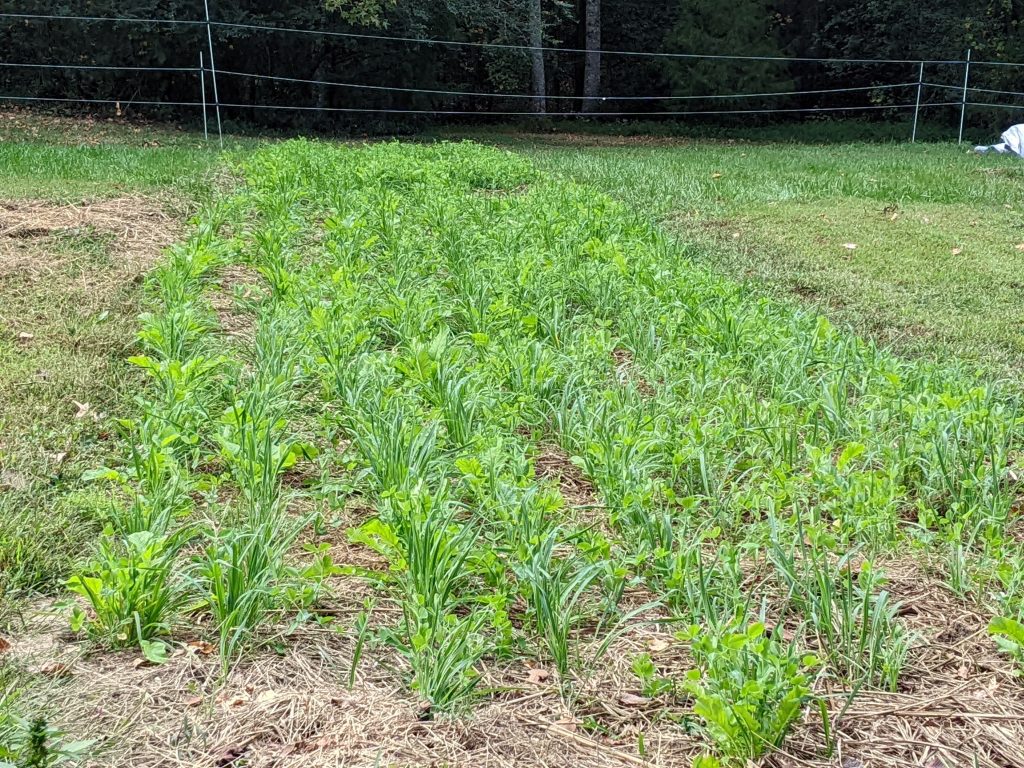
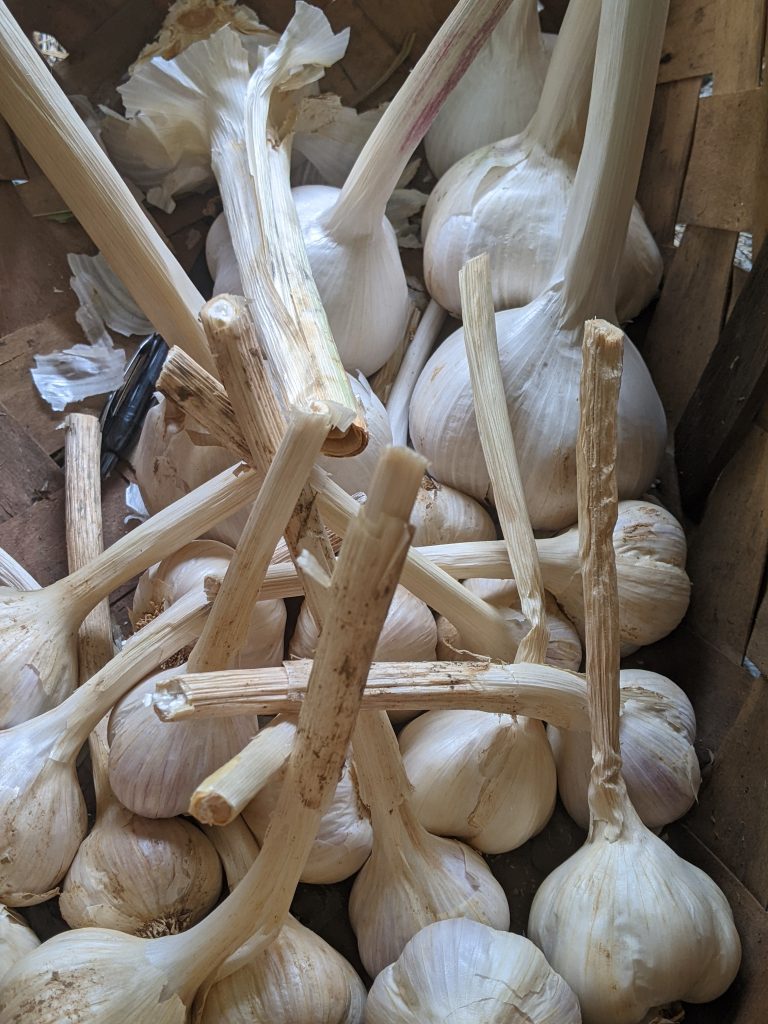
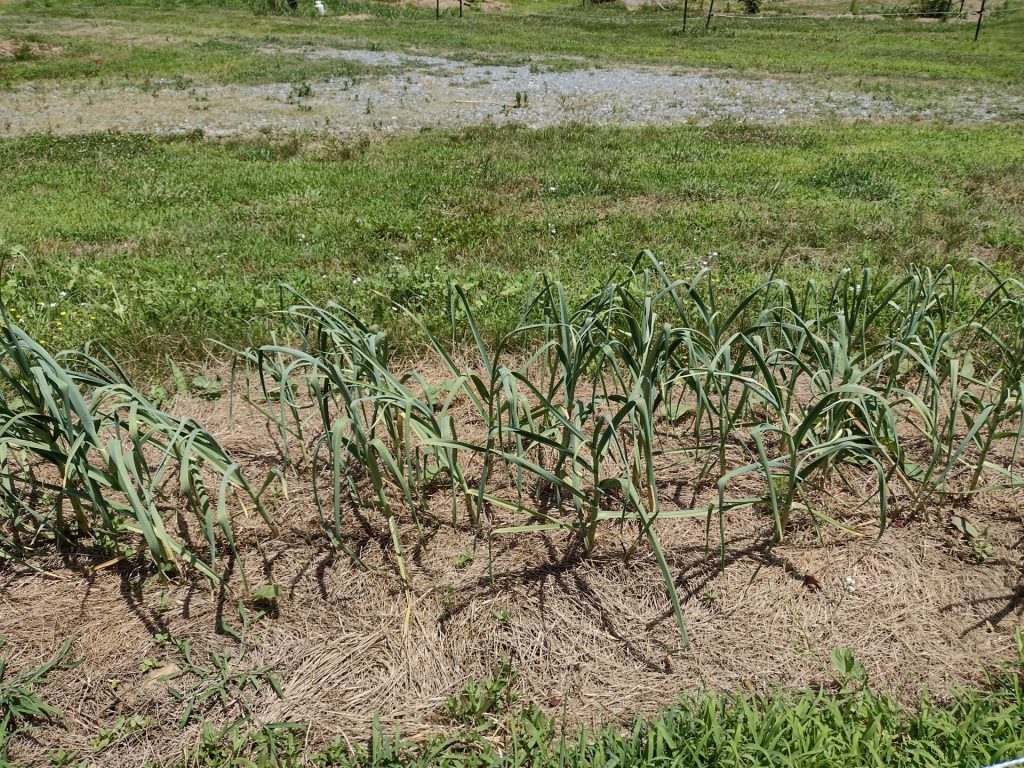
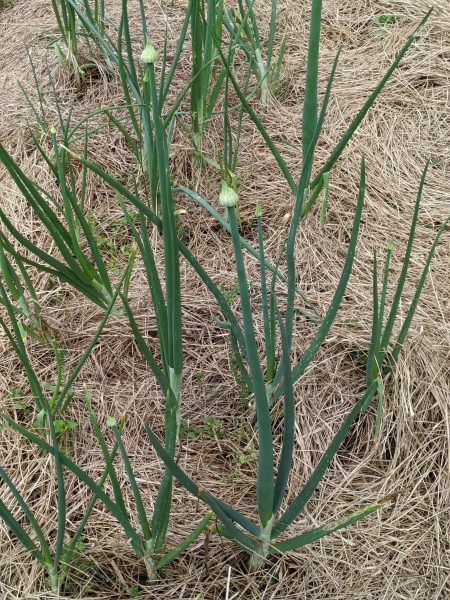
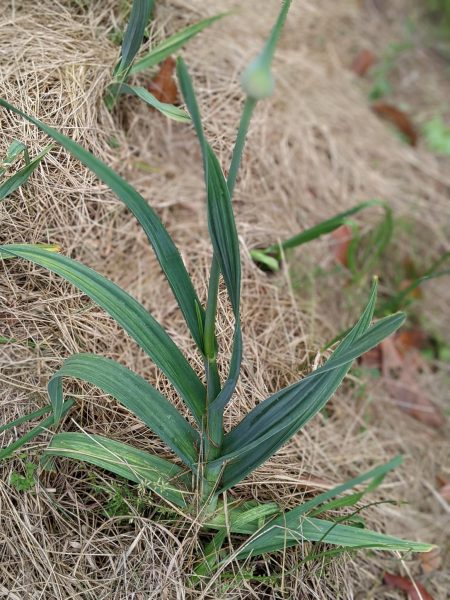
The garlic is continuing to thrive

We had a fairly mild winter so the weeds started growing early in the garlic beds. This year we put down hay twice to try and suppress weed growth. Hopefully we can avoid a lot of weeding this way. I was pleasantly surprised that our garlic beds survived our neighbors cows getting loose and trampling the plants earlier in the winter.

American Mandrake

We have several patches of wild American Mandrake. It grows in the shady areas. I’m hoping that we can actually try some of the fruit this year. That would mean that we would have to time picking it just right. If we wait too long the squirrels and deer will beat us to the ripe fruit.
This image has an empty alt attribute; its file name is PXL_20220409_184054962_1920-450x600.jpg
Our American Mandrake is flowering
Posted on

Meanwhile on the farm, mayapples and the preparations continue…

The Mayapples are up and thriving. We noticed the fruit starting to form. We are hoping to try the fruit this year, assuming we can beat the deer and raccoons from eating it first.

Mayapples patch
The Mayapple fruit is forming

Weed Control with Silage Tarps

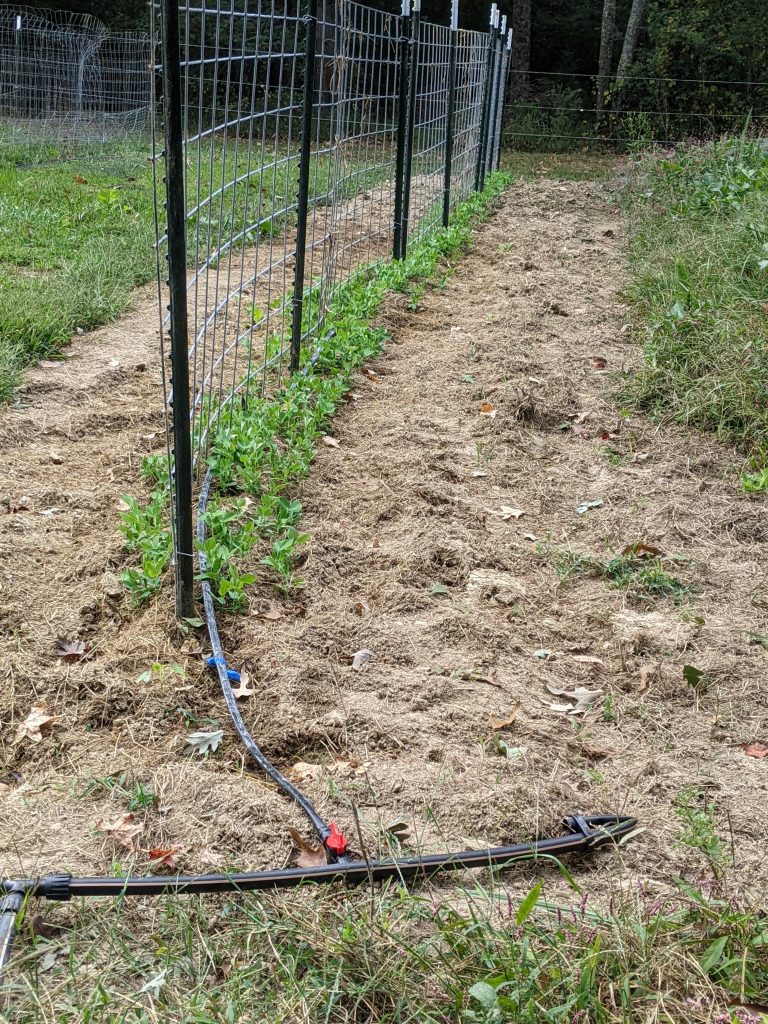
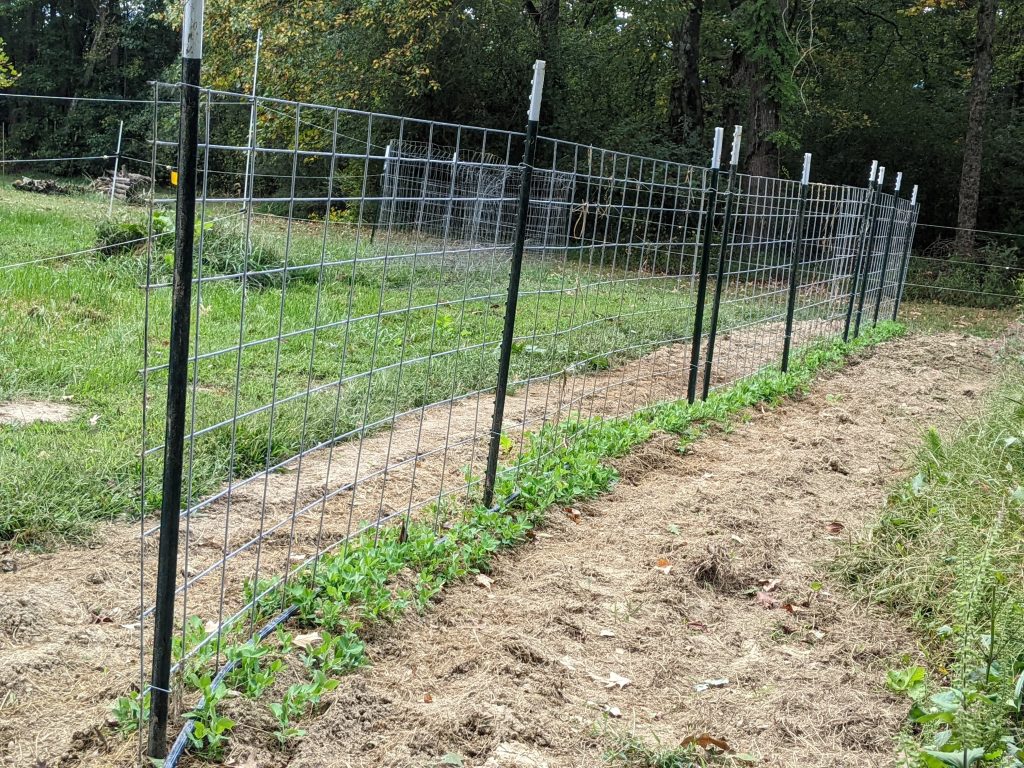
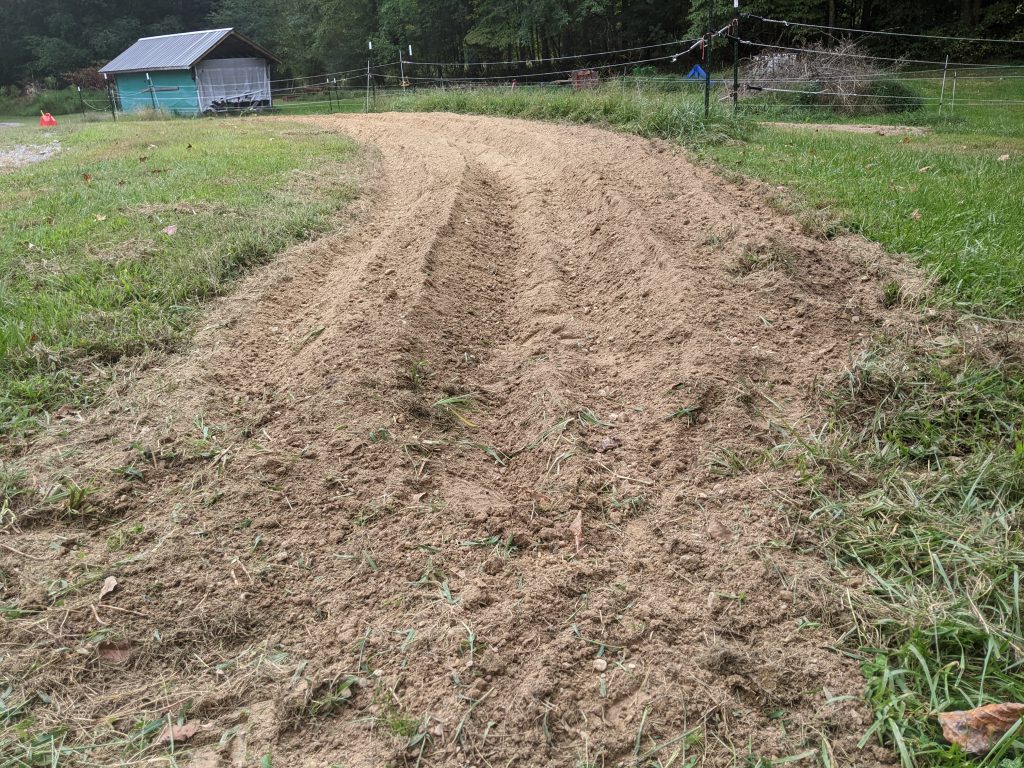
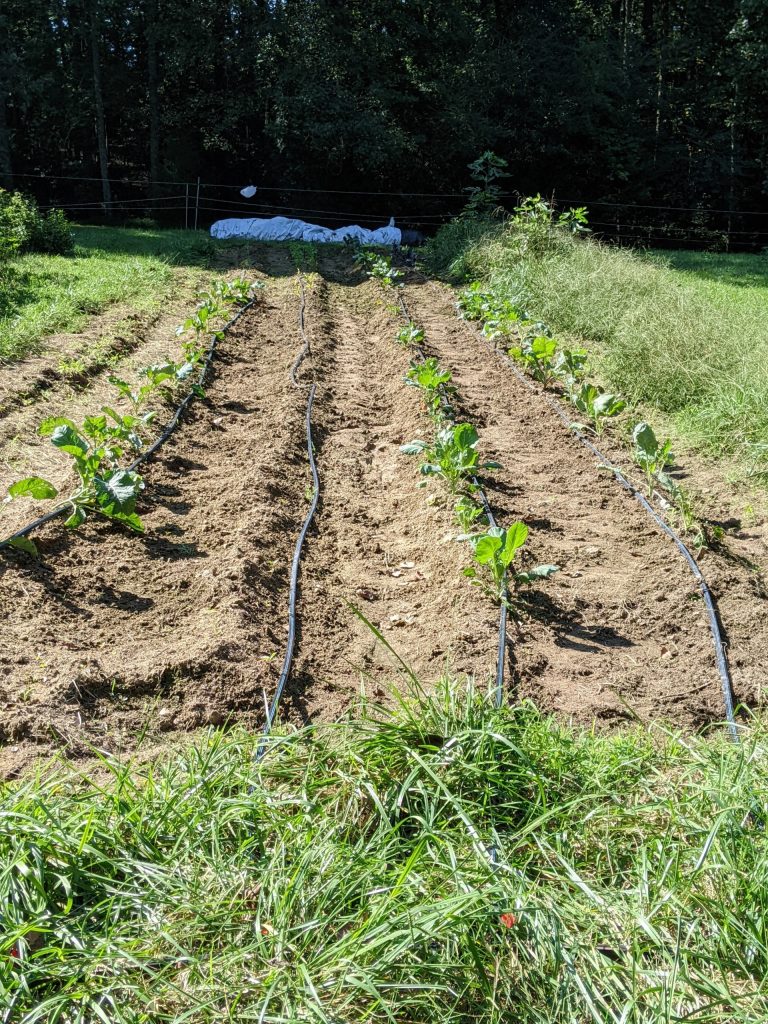
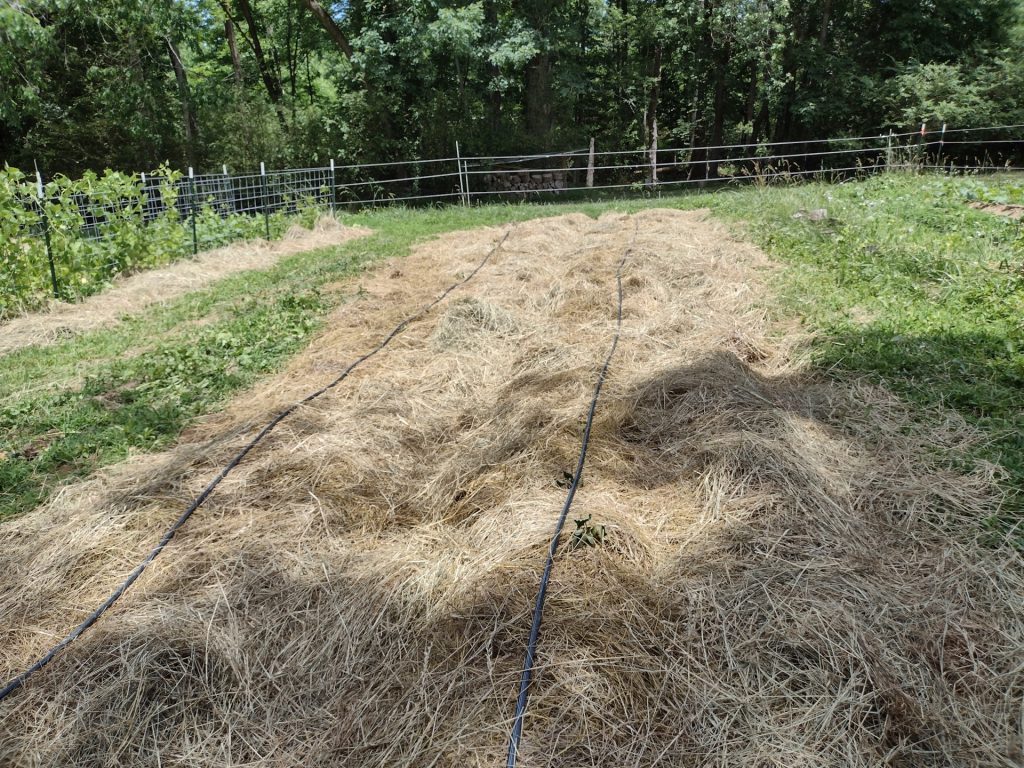
We put down silage tarps earlier in the winter. The goal is to help with weed control and terminate the fescue grass under the tarp. This weekend we moved the silage tarp from the vegetable rows (picture below – 6 bed with 2 rows per bed that are 30 inches wide by 35 feet long) to what will become a cover crop area adjacent to the first row of fig trees in field #2.

Ground after silage tarp was down for part of the winter

Weed Control in Garlic and Onion Beds

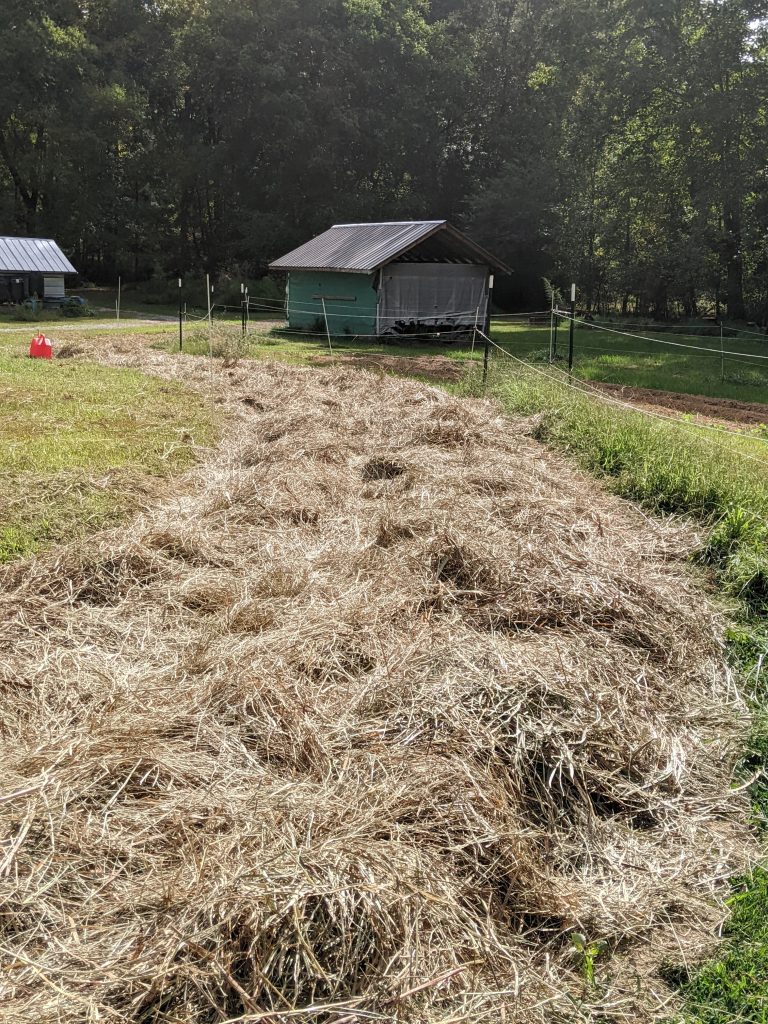
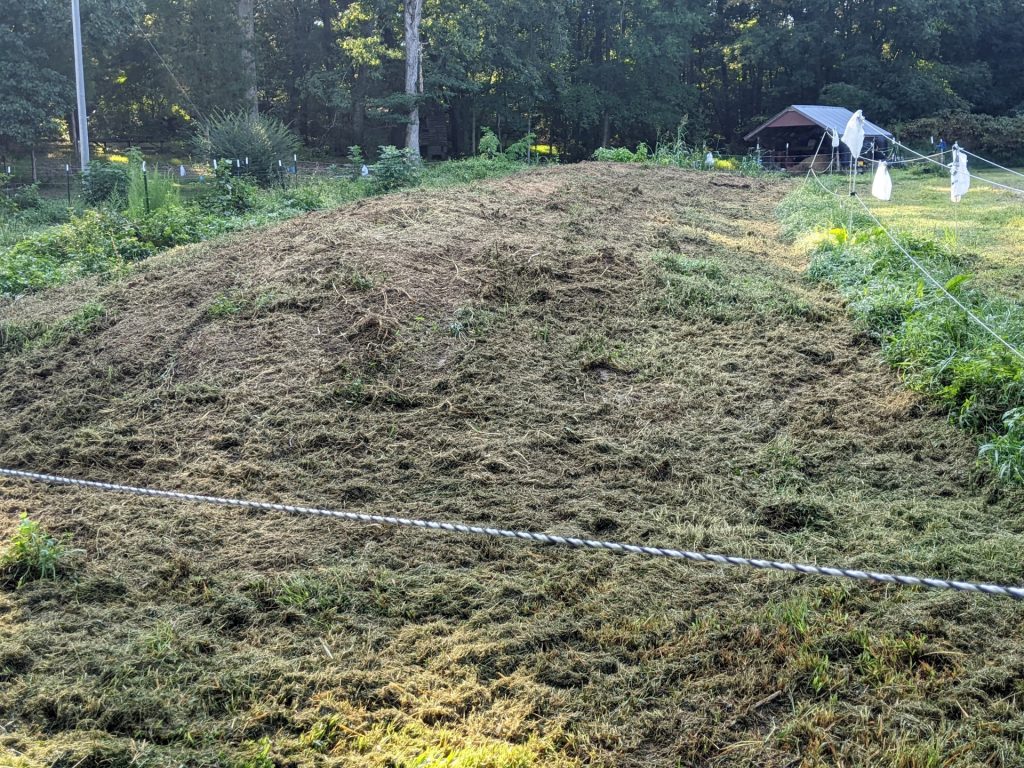
The garlic should be ready sometime in early July. This year we’ve used hay to help and control the weeds in the garlic bed. This is the second application of hay to these rows. The hay adds organic matter to the soil as it composts.

Hay around the garlic to suppress weeds

Iris Bed

The Iris are coming up. We planted them in the fall. We just added partially composted wood chip mulch around them to help protect them from the summer heat and control weeds. The chips came from a local tree service company.

Iris peeking their head up. Fresh mulch to keep the weeds down
Posted on

Getting Ready for Spring – Putting Down Hay and Weedblocker

The weather on Saturday was kinda crazy. It started out fairly warm and then just kept getting colder.

Sometimes You Can’t Do What You Plan

We had planned to plant beets, peas and radish. The plan was to pull back the tarps and build beds to plant in. The silage tarp has been down for several weeks. Last weekend we added more tarps before the rain started. The plan was to roll back the tarps and build beds for the beets, peas and radish. Then we could plant in dry ground. Sounds like a good plan.

However, it was not a good plan. When we pulled back the silage tarp and the other tarps, what we found was some very wet ground. Once again I was unable to impose my timeline on the farm. I say that as a joke. Our transition from backyard gardening to a small scale farm has been quite a learning experience. I’ve found time and time again, that we can’t impose our timeline and our will on the farm. Instead we have to be flexible and understand that everything happens in due time.

Getting the Food Forest Ready for Spring

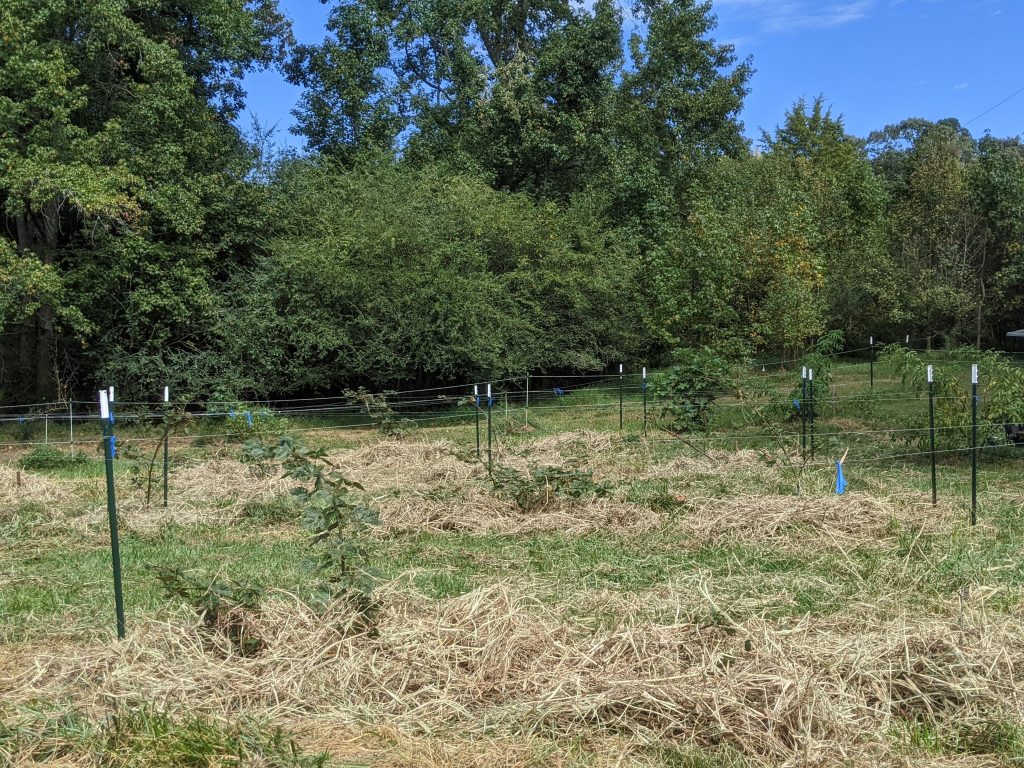
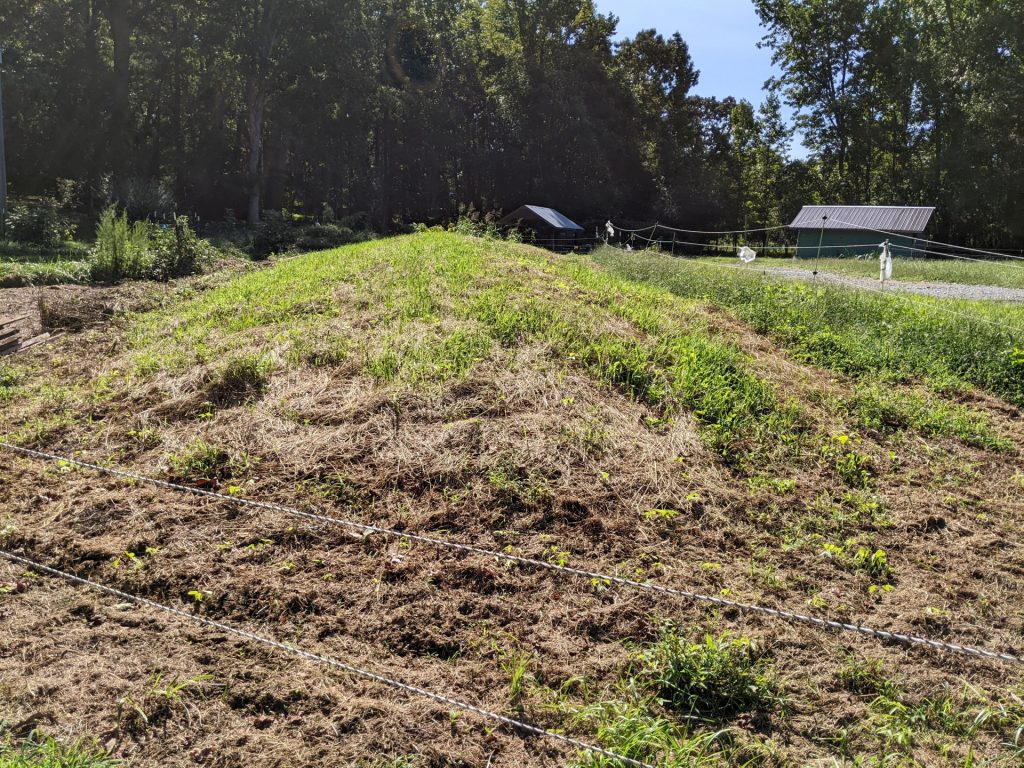
Our food forest area consists of a mulberry trees, elderberries, blackberries, raspberries and figs. There is also a hugelkultur mound at the edge. We started our food forest last year in a field with very established grass. The grass is good because it holds the soil in place but creates a few issues. The grass competes with the bushes and trees for resources. The grass also hides the drip irrigation lines and emitters, making it easy to hit with the lawnmower or weed eater. Keeping the grass cut in the immediate are around plants makes it easy to damage the plants if you get too close with the lawnmower or weed eater.

Our Solution

We spent the day putting down a biodegradable weed blocker. The weed blocker we use is a paper mulch from Chatham Farm Supply in Pittsboro, NC The weed blocker is manufactured by www.7springsfarm.com .

Steps

  1. cut out a piece of the 4 foot wide paper that is 4 feet long, then put a cut in the middle of the paper that allowed us to lay the paper down around the plant.
  2. Put down hay on top of that paper, so the hay is at least 1 foot deep, and do it quickly before the window blows the paper away
  3. Once the plants have paper and hay around them then cut sheets to cover the grassy area between the string of plants (along the trellis or the drop line)
  4. Cover those sheets of paper with hay.

We originally tried doing a long length of paper, but the wind kept that from working. Doing small pieces worked much better and were easier to manage on a windy day.

Things go quicker when people don’t decide to take a nap in the field while it is snowing 🙂
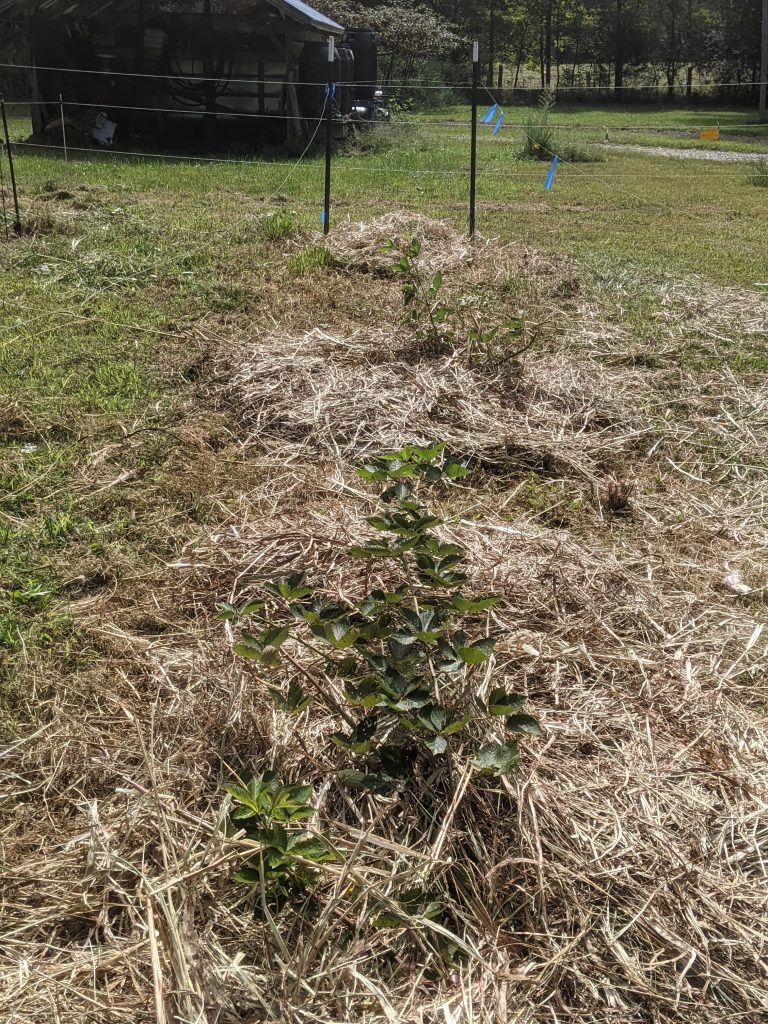
Hay over paper under the blackberry trellis
Hay over paper along the elderberry and fig bushes with the drip irrigation feeder line sitting on top of the hay

Important Note about Using Hay or Straw in your Garden

It is really important to make sure that before using hay or stray in your garden, you find out what chemicals were sprayed on the hay as it was growing. Some of the chemicals used in the production of hay (which is typically used for livestock food) are safe for live stock but may kill the plants in your garden. Some farmers assume that safe for livestock means safe for the garden, but often that isn’t the case.

Posted on

2022 Spring Homestead Experience

What a busy few days. When it comes to homesteading there is always a lot to learn and share. We worked on the following:

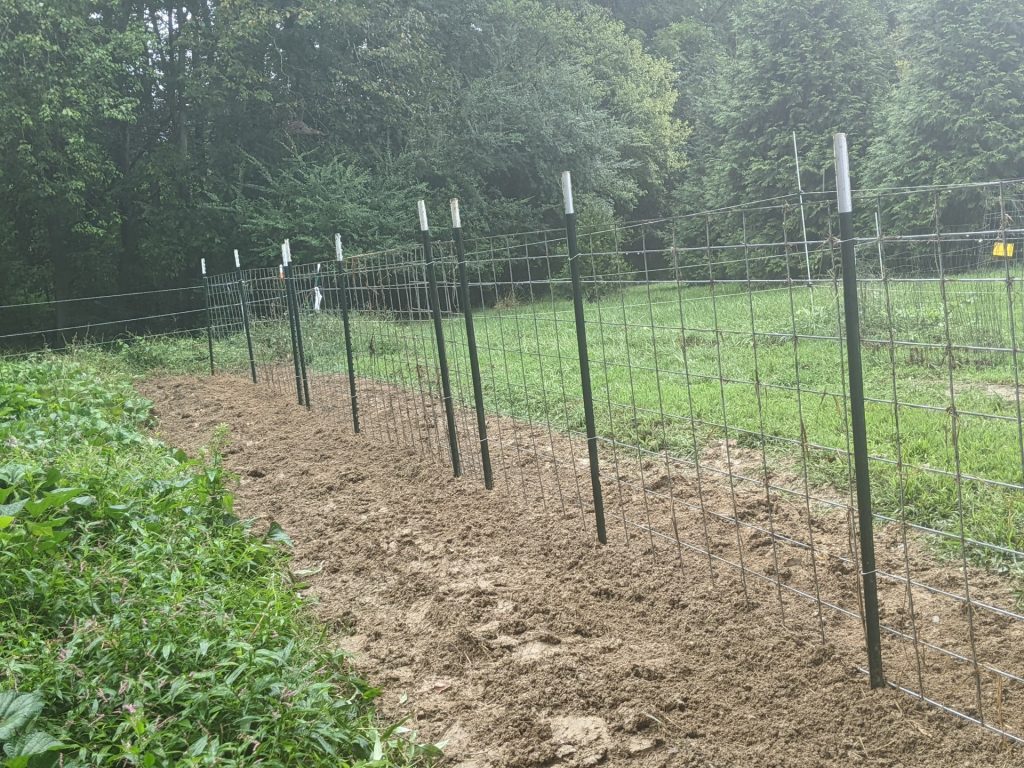
  • installed an anti-deer fence
  • installed 15 elderberry plants with a biodegradable mat around them with hay on top
  • planted 7 fig and 2 peach trees
  • planted a lantana in the pollinator garden
  • put down a 50′ x 100′ foot tarp in the vegetable garden area to solarize and help kill weeds before we plant in April

Thanks again to everyone who helped!

If you missed out on this one, join us this fall. Info soon at www.nchomestead experience

Elderberries with biodegradable weed mat and hay on top
Silage tarp over vegetable garden and new deer fence
Posted on Leave a comment

New Tractor, Putting Up Blackberry Trellis and A-Frames

Getting a farm up and going has been a big project. Sometimes it seems like the world has gone crazy, but on the farm there is a peace and serenity. We’re getting ready for growing season and the plants don’t care about politics or ideology, they just want great soil, rain and sunshine. So after a day or working on the farm we get a break from all the covid and politics and it is wonderful.

This image has an empty alt attribute; its file name is PXL_20220212_184002508.PORTRAIT_smaller-450x600.jpg
Amazing there are flowers blooming on the farm in February

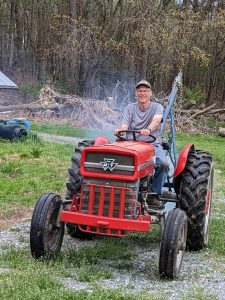
This was a busy week. We used our new BCS tractor for the first time. That went well. It should be a great tool for use in the garden.

Putting in the Blackberry Trellis

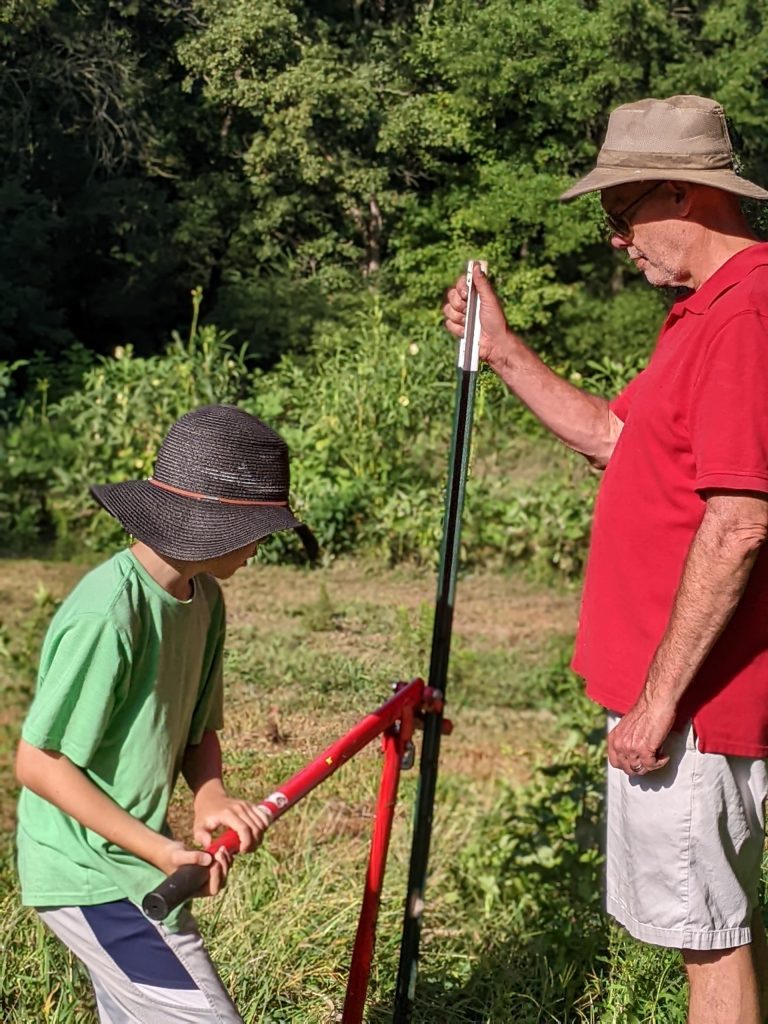
Having another set of hands made things so much easier. I drove the t-posts in the ground while Connie and her sister put the wire up.

This image has an empty alt attribute; its file name is connie_black-berry-trellis_1920-900x522.jpg
Setting the wire between the t-posts
This image has an empty alt attribute; its file name is trellis-900x390.jpg
We’ll need to put flags on the wire so you can see it when walking through the blackberries

Using an A-Frame to Help Determine Fig Planting Locations

We are getting ready for our 2022 NC Homestead Experience. One of the tasks is to locate where the fig trees and elderberry plants go. I wanted to plan ahead with the locations so I can add swales. So I used an A frame level. It only took a few minutes to build it. This allowed me to place the trees at the same elevation line on the hill. Here is a great primer on a frames in permaculture

This image has an empty alt attribute; its file name is IMG_20220212_142844883_HDR_1920-800x600.jpg
A-frame ready to use
This image has an empty alt attribute; its file name is IMG_20220212_142900071_HDR_1920-800x600.jpg
Assembled using a bolt, wing nut and washer
This image has an empty alt attribute; its file name is IMG_20220212_142904249_HDR_1920-800x600.jpg
Plumb line is made from paracord
This image has an empty alt attribute; its file name is IMG_20220212_142849912_HDR_1920-800x600.jpg
Plastic coke bottle filled with water and a hole in the lid makes a great weight
This image has an empty alt attribute; its file name is IMG_20220212_142852491_HDR_1920-800x600.jpg
Mark indicating when the bottom of the legs of the a-frame are level

Parting thought – plant a garden!

Posted on

Shopping List – Main Items that you need to preserve food

Why – Cost of Food is Increasing, Availability is Decreasing

https://www.bloomberg.com/news/articles/2021-12-10/price-shock-at-the-meat-counter-worsens-u-s-inflation-jitters – as an example beef is up 20% this year

I’ve seen numbers from 6 to 20% for other sectors of the food supply.

Lets do the math. Here is one analysis:

  • $1 product in 2020 became a $1.20 product in 2021 (using 20% inflation) – i.e. your overall grocery bill went up 20% from 2020
  • becomes a $1.44 product in 2022 (using 20% inflation) – i.e. your overall grocery bill went up 44% from 2020
  • becomes a $1.728 product in 2023 (using 20% inflation) – i.e. your overall grocery bill went up 73% from 2020
  • becomes a $2.07 product in 2024 (using 20% inflation) – – i.e. your overall grocery bill went up 100.1% from 2020 (doubled in 3 years)

Maybe groceries prices will stabilize and maybe the supply chain issues will resolve themselves. I doubt it, but I obviously can’t predict the future. I can learn from history. The American empire is in decline and we have a few long decades ahead.

Thinking About The 2022 Growing Season

Looking forward to growing season, you can break the challenges down into 2 broad areas:

1) raising a surplus of food (planting, maintaining, harvesting)
2) preserving the food

One of the challenges in dealing with fresh food is preserving it in a timely basis. When veggies are ripe they have to be picked, maintained in a cool environment and then preserved within a few days. This is common knowledge, but as we’ve gotten better at gardening and preserved food, it becomes clearer how difficult and how much work it is to make that work within the time constraints.

Lets take a look at the steps to preserve food:

1) prep the food – wash, clean and cut it up into what ever sizes are needed, blanche or cook (if needed). This part of the process is the most labor intensive and has to be done soon after the items are picked (time sensitive). After this is done, many items can be frozen until it is time to can or preserve them. This is also the step the requires the least amount of equipment (at least until we run out of freezer space).

2) preserve the food – water bath can, pressure can, dehydrate, freeze dry, freeze, etc.

3) post process – for dehydrating this would mean putting it in jars with oxygen absorbers and evacuating the jar, for canning you let the jars sit and cool before putting them up for storage (the easy part)

Items to Consider Buying for Preserving Food this Year

I realize each one of you has different space limitations and budgets, but here is a list of items that you will keep and use for decades, some for the rest of your life. I’m not trying to push you into doing anything, just giving you information and encouraging you to use your own judgement to do what ever it is that you need to do.

If grocery prices continue to rise, then there will be a rapid increase in people gardening (or trying to garden) and a subsequent rise in people trying to purchase these items below. There was a period last year were you just couldn’t get jars, and if you could find them online then the prices were really high, even for off brand jars.

Also look at being able to preserve your food as a way to save money, especially as food prices go up. If you have trouble paying the bills now, could you live with your food prices doubling? Now is your chance to do something about it. Buy food when it is less expensive and plentiful (i.e. during the harvest) and save it for later.

General Things Needed

Freezer – no matter how you preserve your food, a freezer is important. It allows you to prep food and freeze it until you can get it preserved. Freezing is also a great way to store food.

I’ll break down the overall things you’ll need for each method of food preservation.

Canning

  • 1 quart wide mouth Mason jars (either Mason or Ball or Kerr [least prerred], avoiding off brand jars) – maybe 100-200 jars, they last forever as long as they aren’t damaged, just buy a few every week, get the regular mouth if you can’t get wide mouth
  • Lids and rings for the jars (brand name is preferred). You can also get resuable lids from Tattler (http://reusablecanninglids.com/)
  • Pressure canner (used for everything from squash to potatoes to meat – bigger is much better, measure your stove to make sure it fits – one that doesn’t require a seal is best). Some stoves won’t work with or support the weight of a canner. If this is the case at your home, you may have to can outdoors using a propane stove or cooker.

https://www.lehmans.com/product/41-12-qt-high-quality-pressure-canner/

  • Pot for water bath canning (high acidity things like tomatoes and pickles)

https://www.lehmans.com/product/black-enamelware-canner-215-qt/ – bigger is better, just measure your stove to make sure it fits

https://www.lehmans.com/product/enamelware-21-12-qt-canner-with-5-piece-tool-set/ – this one comes with jar grippers and funnels

Dehydrating

  • One quart wide mouth mason jars (either Mason or Ball, avoiding off brand jars) – maybe 100-200 jars, they last forever as long as they aren’t damaged, just buy a few every week, get the regular mouth if you can’t get wide mouth. Look for them in your grocery store and buy a dozen every week, along with lids and rings
  • 1 or 2 dehydrators – during peak harvest having more than one is a win

https://excaliburdehydrator.com/ – gets good reviews
https://www.nesco.com/product/fd-80-snackmaster-square-food-dehydrator/ – we have this one with 9 trays

Freeze Drying

  • One quart wide mouth mason jars (either Mason or Ball, avoiding off brand jars) – maybe 100-200 jars, they last forever as long as they aren’t damaged, just buy a few every week, get the regular mouth if you can’t get wide mouth. Look for them in your grocery store and buy a dozen every week, along with lids and rings

NOTE: You maybe be able to find many of these things used, canners and jars. As long as jars aren’t chipped or broken they last forever. Often when someone stops canning they will give away their jars and pressure canners. If the pressure canner uses a gasket, you may be able to purchase a new one if the old one is unavailable or damaged.

Most grocery stores will have a limited supply of canning jars, just pick them up as they are available.

Use Your Judgment

Use your judgement and do what you can afford. I’m not suggesting in any way that you go in debt for these things. I am strongly suggesting that you buy jars / lids / rings and a dehydrator at a minimum. If you have the budget, then a freeze dryer would be an great investment. Freeze drying is the easiest process to do. Use your judgement. Hopefully that example inspires you to prosper in what could be a difficult few years.

audaces fortuna iuvat – fortune favors the bold

Parting thought – These links just products that I feel strongly enough to recommend. I have no relationship with any of these companies, other than being a customer.

Posted on

2022 Community Garden Info

Why Have a Community Garden

The last few years (2020-2021) have difficult years for everyone. When we originally bought the farm from a friend in 2021, we had intentions to just having place for a larger garden / fruit orchard, recreation and eventually build a house. The growing possibility of food insecurity and food cost inflation led us to reconsider our plans. Instead asked how many families can we help feed? Can we help people to learn who to have their own backyard gardens.

Location: Bennett, NC

Description of Property: 10 acres with 7 acres in pasture / garden.

Season: April, 15th, 2022 through Sept 30th, 2022

Goals for the Farm

  • Teach and encourage backyard gardening
  • Distribute excess seeds for our farm to the greater community, to help encourage others to garden
  • Feed as many families as possible
  • Teach regenerative soil practices and permaculture
  • Use farming as way for the participants to find solace from a crazy. Something relaxing about hands in soil
  • Give others a way to try out the homestead life before you dive in and start a homestead

Current Situation

We have 3 slots for 2022. Each slot is 8 hours of labor per week. A slot can be shared by a couple.

The purpose isn’t to recruit anyone one. We are looking for people who are passionate about growing healthy food, learning about gardening and creating better food security for yourself. If this isn’t something you really want to do deep down inside then this isn’t for you.

How it Works

The garden is a communal meaning that we all share the work to keep plant and manage the crop, then share the harvest. Each weeks harvest is broken down into shares. A share is based on 4 hours of work per week. If you work 8 hours per week then you get 2 shares. A couple working 4 hours per week each would get 2 shares.

Because weeds grow and crops need harvesting whether we are there or not, it is important that anyone participating in the community garden is a consistent participant. We’ll set up a schedule and its important that we all stick to the schedule and keep the garden as a high priority.

It is important to keep in mind that weather can stop activities on the farm if it is severe. Safety is first However, it is important to keep in mind that sometimes it is hot outside (especially mid-July through September) but we still have to stay hydrated and get the job done. You may be working in drizzling rain or hot temperatures. That is part of being outdoors. However, safety is always first.

We can work around planned absences such as vacations. Sometimes things happen in life that pull you away from normal activities (sickness, work trips, etc). It is important to keep in mind that if you aren’t present to help, someone else has to put in extra time to make up for you not being there.

During the growing season, you are expected to be an active part of the farm. That simply means showing up and diving in to keep the crops growing, maintained and harvested. We all need a break from time to time, so we plan in 2 weeks per person during the growing season for vacations, travel, etc.

When it comes to unplanned absences the following rules apply:

1st unplanned absence – consideration given to the nature of the absence. Possible removal from group if the absence was frivolous.

2nd unplanned absence – mostly likely will result in removal from group

3rd unplanned absence – removal from group

The is no expectation for any participant to operate any type of heavy equipment.

With farming there is risk. We can’t guarantee results but we take steps to minimize the risk of crops failing including irrigation and anti-deer, electric fences.

February Homestead Experience

You are strongly encouraged to participate in the 2022 Homestead Experience. This is a great way to get to know each other, spend time on the farm and make sure that participating in the community garden is something that you really, really want to do.

Practices:

  1. We irrigate using drip irrigation.
  2. Anti-deer electric fences help prevent loss of crops from deer depredation
  3. Regenerative soil practices – we use cover crops to help build soil and minimize the use of synthetic fertilizers.
  4. Low / no-till – we are working to minimize our soil tillage to help continuously improve our soil
  5. integrated pest management – low pesticide / insecticide use. No glyphosates. Plan to install pollinator gardens in the fall to help with pollination and attracting predatory insects
  6. Hugelkultur – we use a hugelkultur mound in one area. The mound in 85′ long.
  7. Permaculture
  8. we are not organic – ask me why sometime, not opposed to it, I just think there are better ways to go

Planned Crops for 2022

Here is the list of crops we plan to grow in 2022

Summer squash

  • Tromboncino Summer Squash
  • Straight neck
  • Patty Pan

Winter squash

  • Candy Roaster
  • Butternut

Eggplant

  • Ping Tung Long Eggplant

Okra

Onions

Pumpkins

  • Tan Cheese
  • Carving

Radishes

Peppers

Onions – Egyptian Walking Onions

Sunflowers, Pedrovik

Cantalope (maybe)


Fruits

figs

blackberries

elderberries

raspberries

mulberries

blueberries (planned for 2022)

pecans (planned for 2023)

Note: we installed the fruit trees and bushes in 2021/2022 so there probably won’t be any significant crop until 2023 and 2024

Contact Us to discuss the opportunity

Posted on

Making Horseradish

My wife and I have this love / hate relationship dynamic with horseradish. We only eat a small amount of it, but we have several family members and friends that really like it. We mostly use it in Connie’s homemade cocktail sauce or on roast beef. Here is a chart showing the pros/cons with horseradish. This should help you decide if you want to grow it. My suggestion is to give it a try, just grow it in an area where you can mow around it to keep it contained where you want it. It will outgrow many garden plants, including asparagus – sorry Connie.

One strategy is to have enough plants that you can harvest about every 3 months. That way you can always have fresh horseradish on hand. The spring and summer harvests may not be as strong as the fall harvest but fresh still wins.

ProsCons
Easy to GrowCan be mildly invasive, best to grow it somewhere that you can mow around (easiest way to contain it, in my opinion)
Roots did deep in the soil, which is good to breakup soilIt can be invasive, so you need to make sure it doesn’t spread into unwanted parts of the garden
Very hardyIf it spreads into an unwanted area that you can’t mow then you have to week that area to control it
Deep roots help breakup soils to a depth of 1-2 feetHave to dig deeply to remove the roots for processing. Takes time to eliminate from an area because of the roots you miss when digging the plant up to process
Tastes great in cocktail sauce or on roast beef. Stores about 3 months (refrigerated). Very easy to grow and you can dig it up any time to make more horseradish sauce Limited uses. No way to preserve long term after processing (if there is, please let me know)
Easy to processCan be time consuming to peel smaller roots
Medicinal usesNone
Can be harvested any time in the seasonBest if harvested late in the season for best flavor, but not a requirement. Look for yellow leaves, usually after first frost.
Limited storage life after processingEasy to store in the refrigerator
Plant pulls minerals from deep soilNone
Leaves are mineral laden and make great compost, just leave them where they fallNone
Leaves are great supplement for chickens – https://tinyurl.com/2p85yuuzNone

Processing Horseradish

Step 1 – Wash roots and peel

I washed them outside first (they can be pretty dirty). Then wash them again in the sink. Make sure to remove any dark veins. Use safety glasses and good ventilation to protect your eyes.

Horseradish roots cleaned and ready

Step 2 – Chop the roots up so they fit in the food processor

Step 3 – Pulse in food processor until finely chopped but not mushy

Wait at least 2 minutes before adding the vinegar. The longer you wait the hotter the horseradish will get.

Chopping it up in the food processor

Step 4 – Take one lb of horseradish and add 1/2 cup of white vinegar and 1 cup of cold water. Add approximately 1 teaspoon of kosher salt (adjust to your taste preference)

Ready to pour into jars

Step 5 – Pour into jars – we use smaller jars because most of the time the amount of horseradish used is fairly small. These are great Christmas presents.

Filling the jars
Ready to go in the refrigerator

Enjoy!

Note – we’ve had limited success vacuum sealing the jars. I suspect that we would need to do the vacuum sealing process fairly slowly to avoid making a mess.